

It’s early March, which means it’s the perfect time for spring cleaning.
Over time, the spaces around us collect dust and clutter. It’s easy to get out of cleaning them up, especially in the dark winter months. But now spring is here, bringing with it the urge to clean everything in sight.
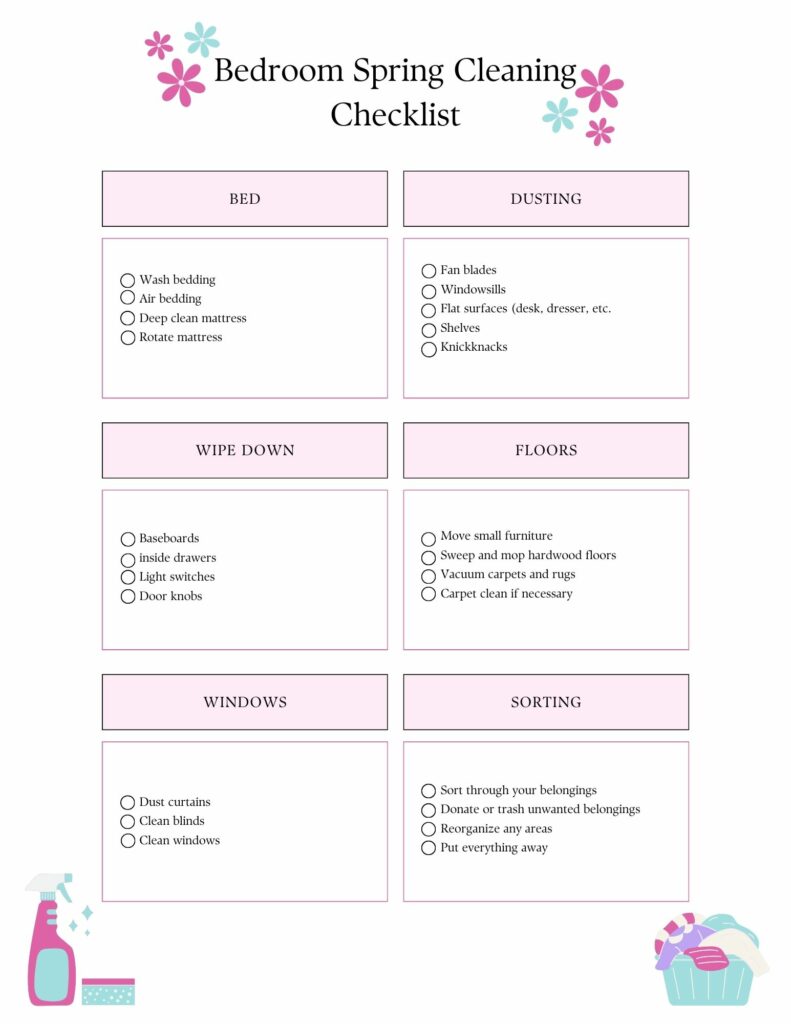
One of the biggest culprits of overlooked clutter is our bedroom. Tackling the task of cleaning it, however, can get overwhelming fast. That’s why this post walks you through how to spring clean your bedroom from start to finish. Remember to read to the end because we’ve included a free printable checklist to help you on your cleaning journey.
Why Clean Your Room?
Cleaning a room takes time and dedication. You might not even feel like your room needs cleaning if you’re a neat person. So why bother?
For one thing, even if you take care of dust and clutter throughout the year, it never hurts to do a deep clean and sort. Sometimes, a clutter pile stays so long we stop seeing it and forget to clean it.
Second, our bedrooms need to be clean and tidy to help us sleep well. A messy bedroom can affect your mental state, leading to worse sleep. Dust or hidden mold can also lead to sleep-impacting health problems. Cleaning your room eliminates both problems, leading to better mental and physical health.
Create a Plan
Tackling a cleaning project as big as your room can quickly get overwhelming if you dive in haphazardly. That’s why you need to make a plan before you start. Either take time to write one down or use a free printable checklist, like the one at the end of this post.
First, decide when you want to clean your room. It could be over the weekend or doing a bit each night after work. Remember, you don’t have to clean your whole room in one day, no matter what those aesthetic YouTube cleaning videos show. Take as much time as you need to do a good job.
Second, decide what order to do things in. This post includes the order we suggest, but feel free to rearrange it to suit your needs. Just remember to clean in an order that doesn’t mess up what you’ve already done, like dusting your fan after cleaning the floor.
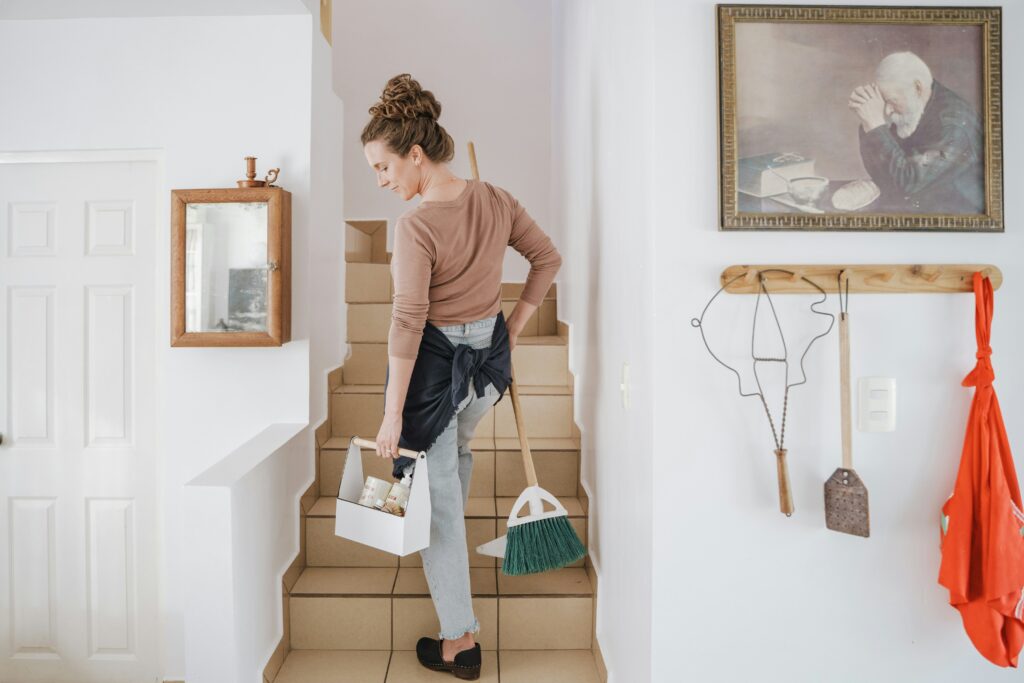
Gather Supplies
You’ll need a few supplies to make your room clean and sparkling. Gathering them before you start saves time and constant running to find another thing. Set them outside the room where you can reach them easily without them being in the way.
A few things you might need include:
- Dust cloths
- Long microfiber duster
- All-purpose cleaner
- Glass cleaner
- Vacuum
- Broom and dustpan
- Mop
- Room spray
- Trash bags
- Cleaning wipes
Tidy Up
We’re going to sort and organize your belongings later. For now, do a quick tidy, so you have clear surfaces for cleaning.
- Put all your trash in a bag and throw it away.
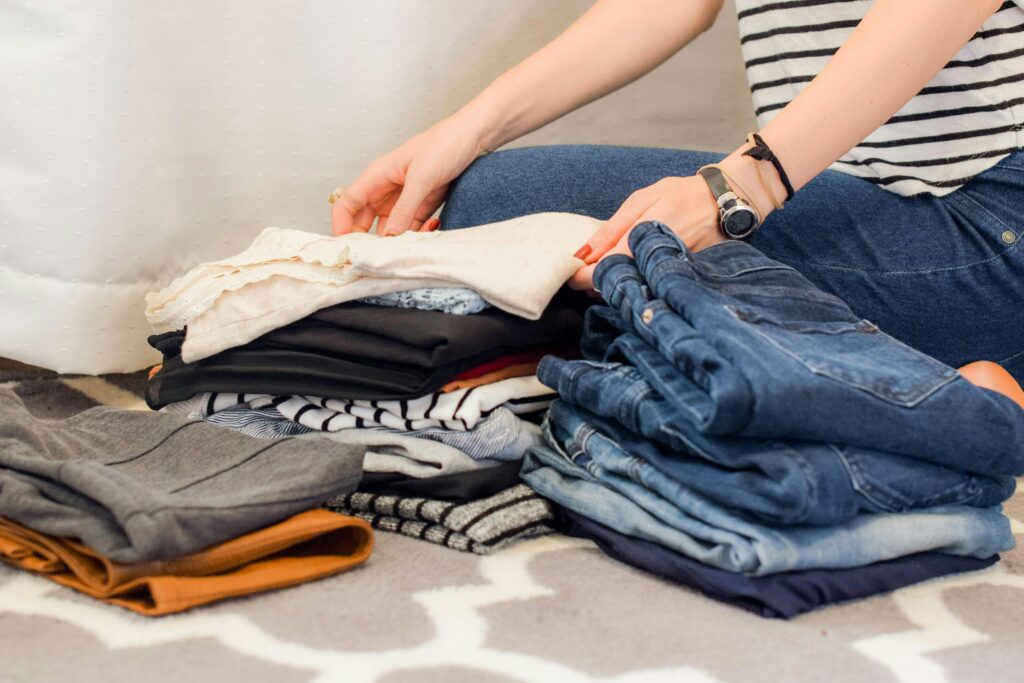
- Put dirty clothes in the hamper or washer.
- Place clean ones in a laundry basket to fold and put away.
- Pile items that go somewhere else in one spot to sort later.
- Place knick-knacks and decor out of the room so they’re out of the way while cleaning.
Bed and Bedding
Your bed is the most important feature of your bedroom. A neat, clean bed is essential for good sleep, so we’ll start your spring cleaning there.
Start by taking off your comforter, sheets, and mattress protector. Wash everything, including duvet inserts, and if you have space, air them outside for a while. Deep clean your mattress, then rotate it for even wear.
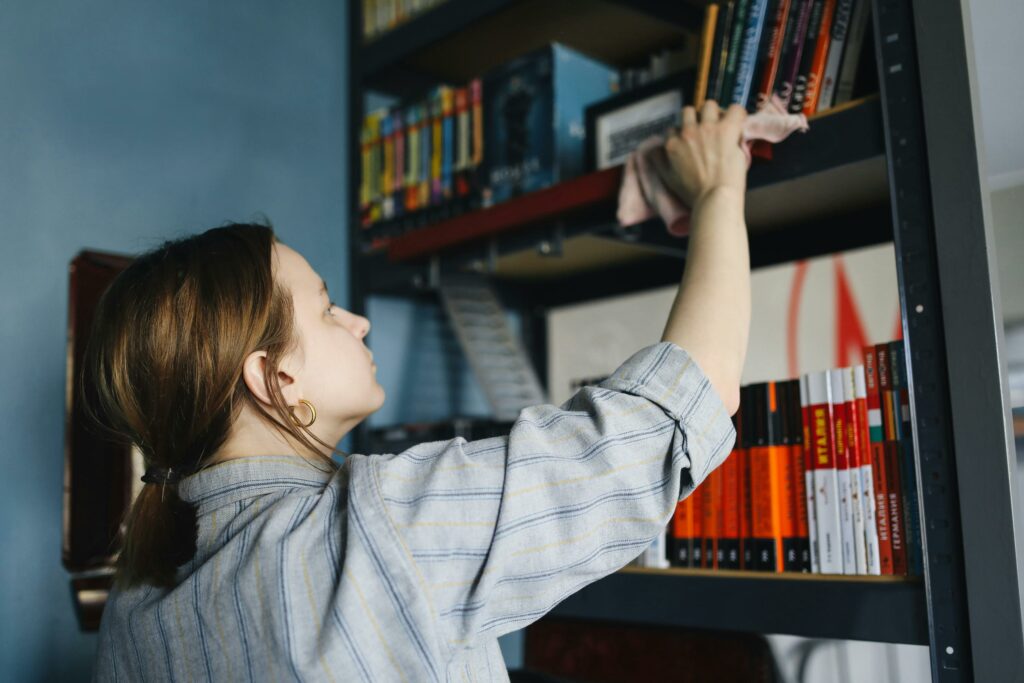
Dust and Wipe Down
Next, clean all the surfaces in your room. If that seems like a lot, or you’re afraid of forgetting something, make a quick list of everything that needs dusting and wiping down. You’ll want to work from top to bottom and left to right to avoid getting dust back on surfaces you’ve already cleaned. Start by dusting off:
- Fan blades
- Window sills
- Shelves
- Books
Then, use a cloth and all-purpose cleaning spray on surfaces that need more elbow grease. That includes:
- Baseboards
- Dresser tops
- Inside drawers
- Light switches and doorknobs
Vacuum or Mop
The next step is cleaning the floor. The method you use depends on whether you have carpet or wood flooring. Before starting, remove small furniture to access as much of the floor as possible.
For hardwood floors, break out a broom and mop. Sweep the floor to remove the first layer of dirt and dust. Then, go in with the mop for any extra stubborn grime. Don’t forget the corners or under furniture.
If you have a carpet, you’ll need to get a vacuum. Do the main floor, then take the detail hose and go around the edges, baseboards, and under large pieces of furniture. If you want an extra deep clean, borrow or rent a carpet cleaner and use it after you vacuum.
Windows and Curtains
With the floor sparkling, it’s time to tackle the windows. Clean windows let in more light, lifting your mood and making your room brighter.
First, take down any curtains, valences, or similar window coverings. If they’re cloth, throw them in the dryer to dust them off. Clean any blinds or non-fabric window coverings using a dust cloth or cleaning wipe, depending on how dirty they are.
Next, grab your glass cleaner and polish the windows. Don’t forget the outside of the glass, too (if you can reach it). It’ll look so much better once they’re both done.
Sort and Reorganize
You’ve finished all the deep cleaning steps. Now it’s time to focus on clearing out extra clutter and fully tidying up your room.
This could be a whole post on its own. But for today, here’s a simplified version. Start by sorting through everything in your bedroom—clothes, knick-knacks, books, etc. Put anything you don’t want in two piles, one to donate and one to trash.
Before putting the items you’re keeping back, take a minute to consider if you need to reorganize any areas. Your bedside table or dresser drawers, for example. If any spaces jump out at you, take care of them now.
Put Everything Back
Finally, it’s time to restore the room. If you took out furniture or decor, put them back in place. Hang up your window coverings. Put the bedding back on your bed. Do any final little tidys you need.
And that’s it! You’ve spring-cleaned your room. It’s not easy, so congratulations on seeing it through.
For those who haven’t started cleaning yet, here’s the printable we mentioned. Use it to stay on track as you work. Have fun cleaning!
No Comments